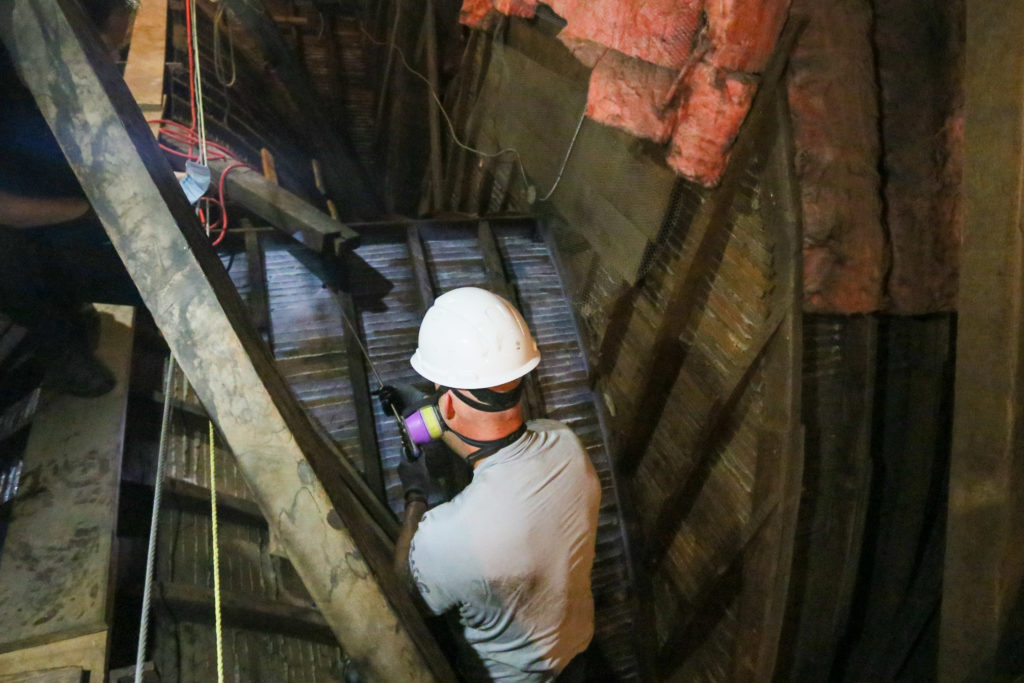
Consolidate is applied to the back of the laths (wood strips between the ceiling’s framing). The acrylic-based solution will act as a glue that will hold the plaster keys (between the cracks of the laths) to the laths themselves. The process is applied three times using solutions of 20%, 50% and 100%.
Consolidation of the ceiling plaster has started during Phase 2 of restoration work on Assumption Church.
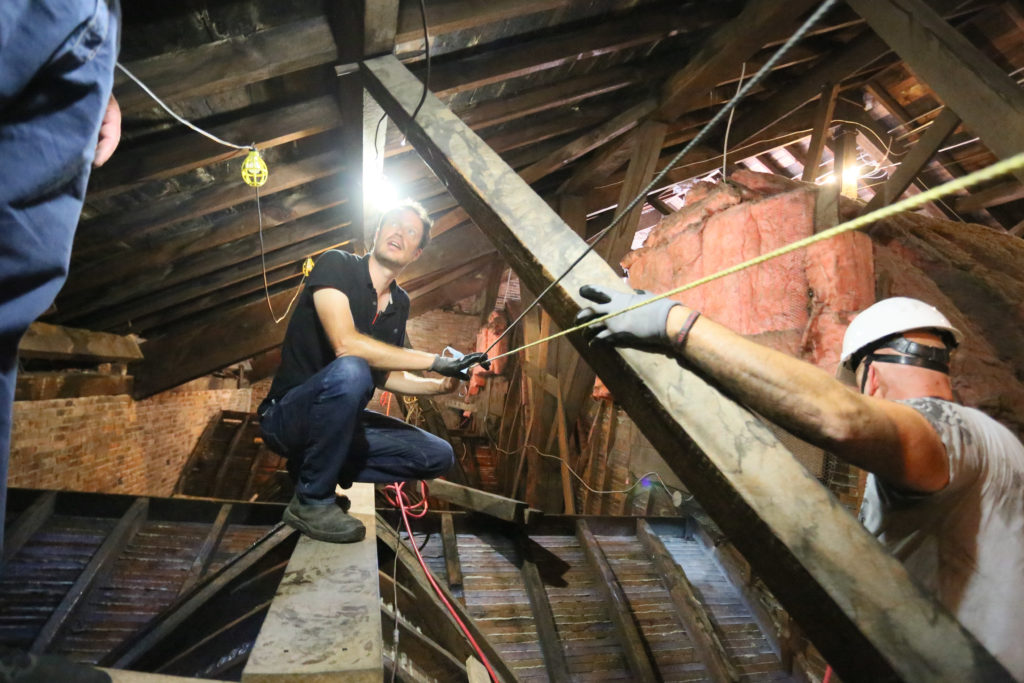
Eric Stewart (centre) explains the process of consolidating the plaster. This photo is located in the attic above the left (east) aisle of the church in an area that suffered the worst plaster damage from water leaks over the years.
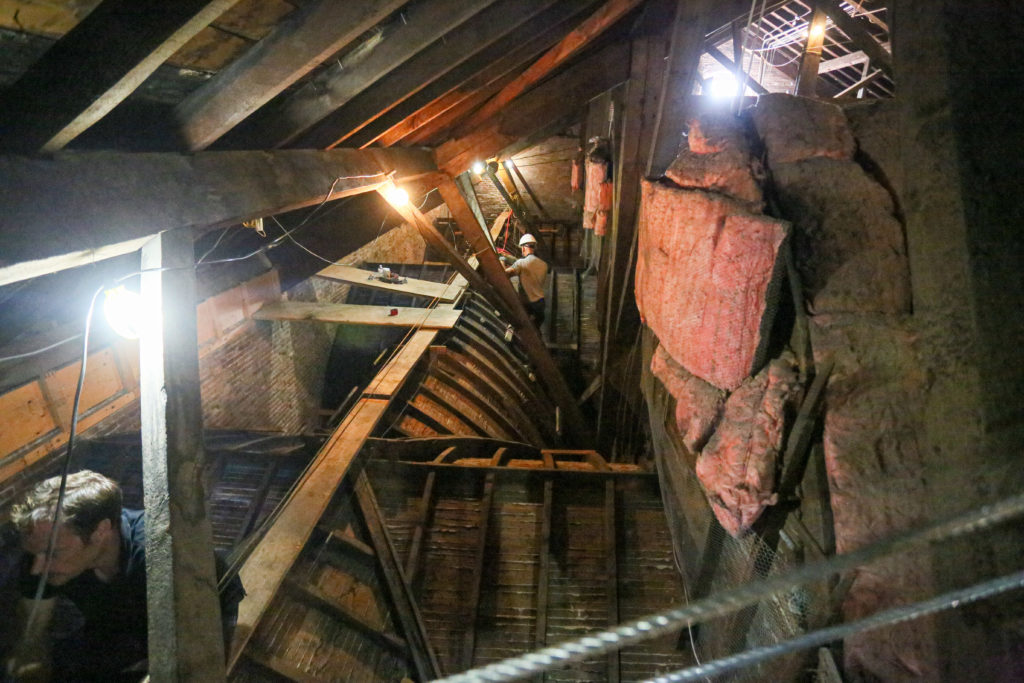
The attic area looking toward the front of the church (south) over the left (east) aisle near the area over the side ramp door.
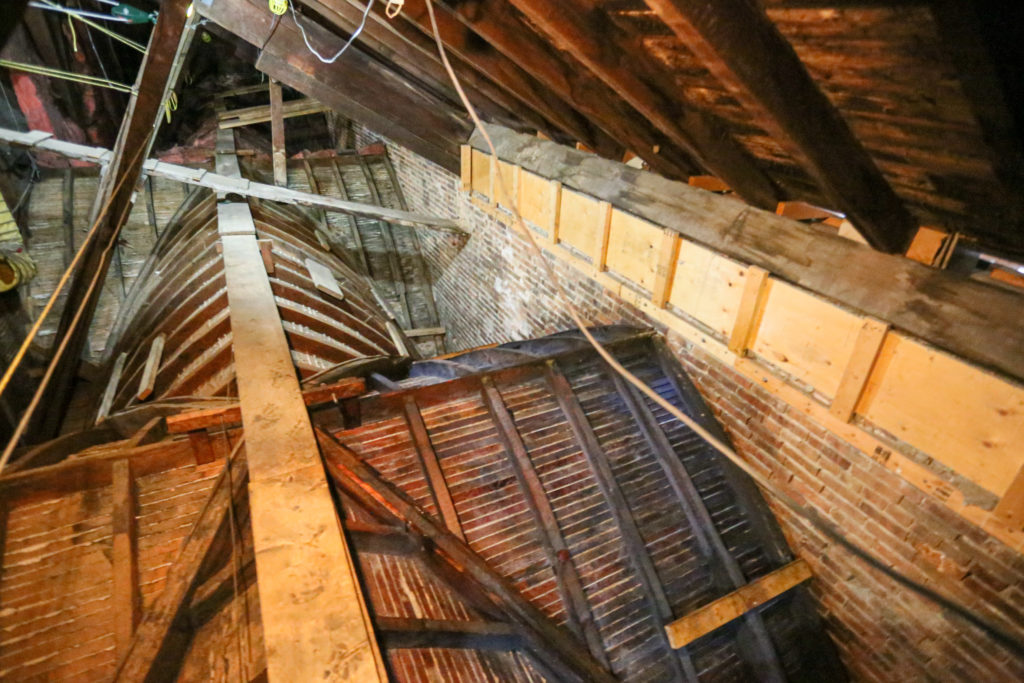
Looking in the attic toward the back of the church (north) along the left (east) aisle. Note the backs of the laths have been fully cleaned in advance of consolidate application.
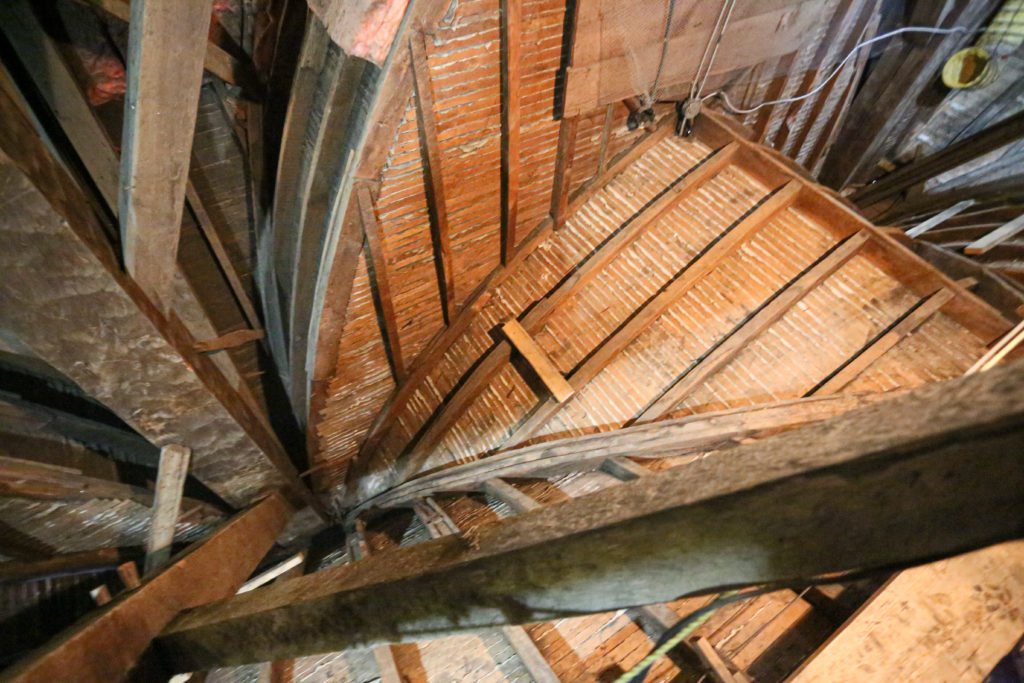
Looking into one of the ceiling’s groin vaults. In some of the vaults, more than 4 feet of debris was removed that had collected over the years.
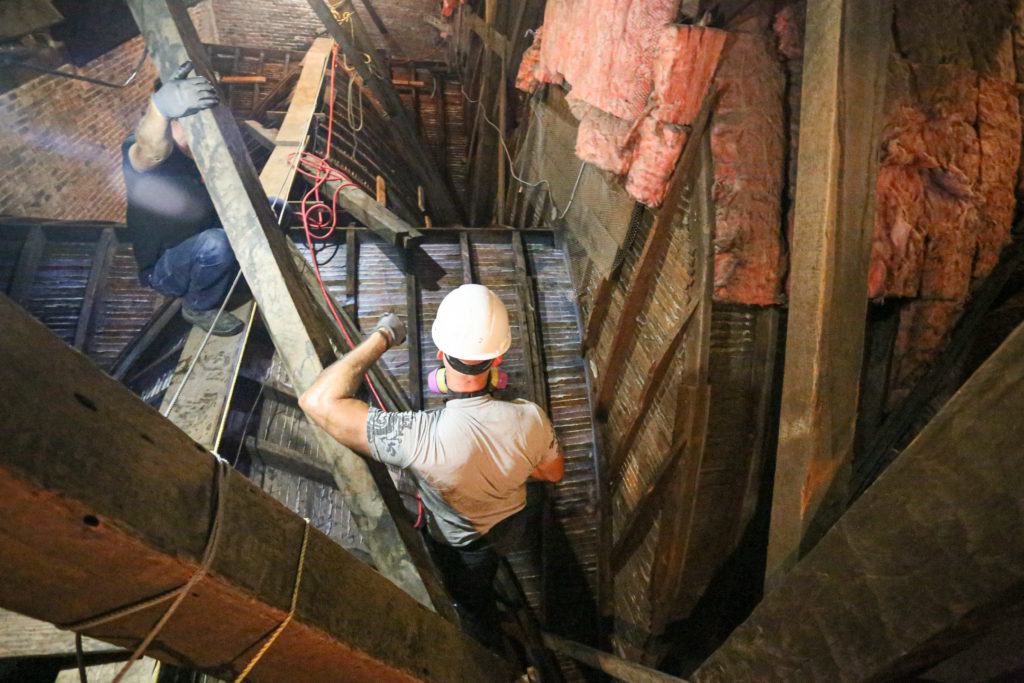
Applying the consolidate.
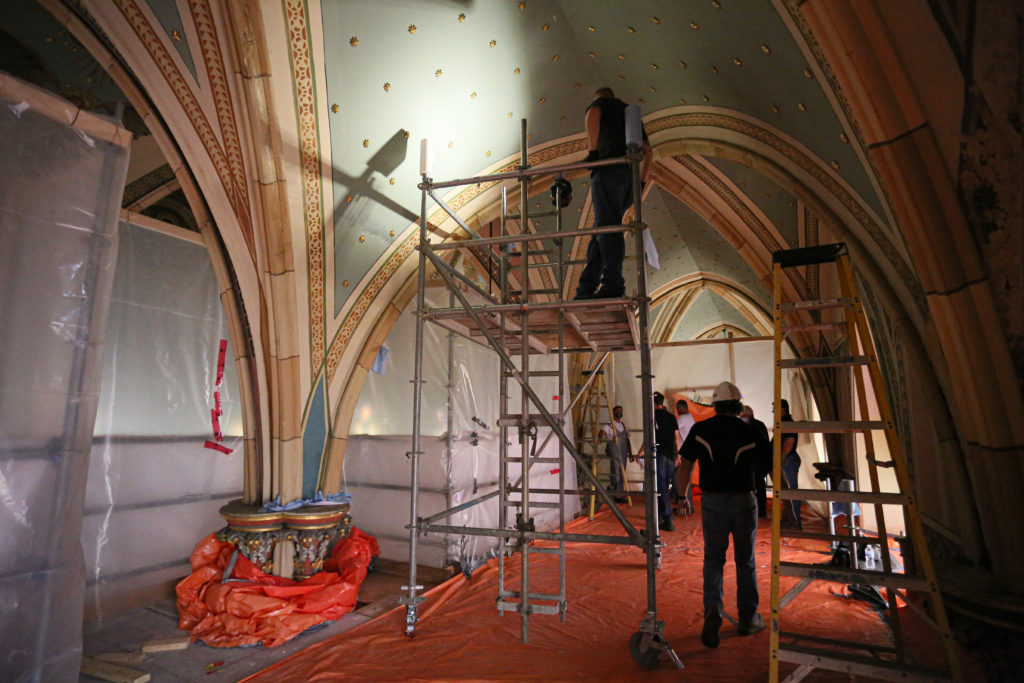
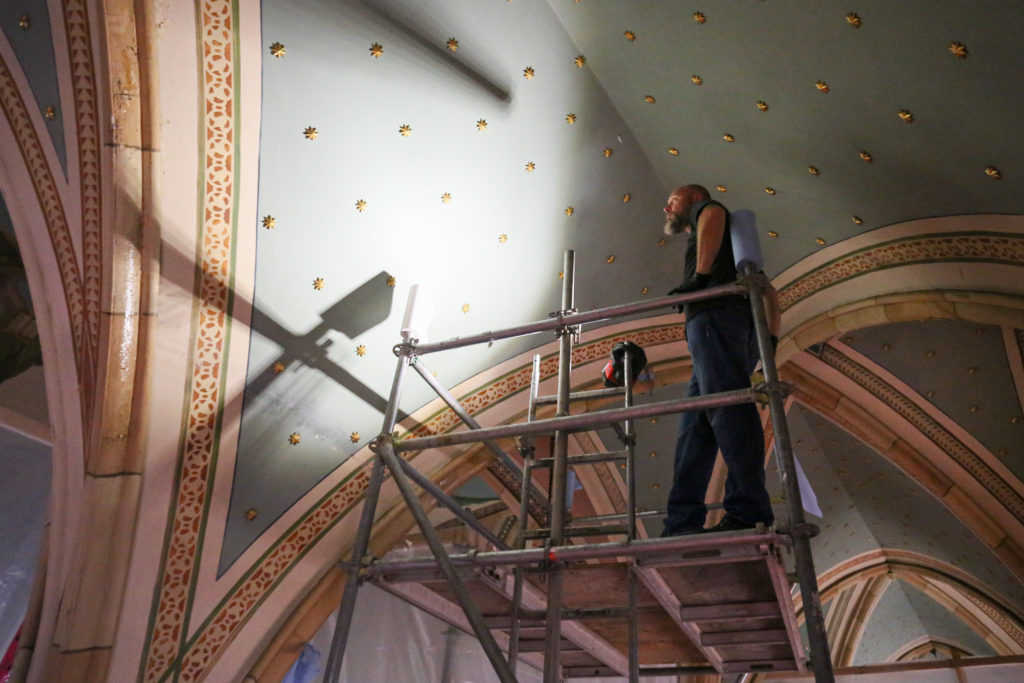
In the area immediately below the previous photos, a worker stands ready to wipe any consolidate solution that has leaked down through cracks in the ceiling.
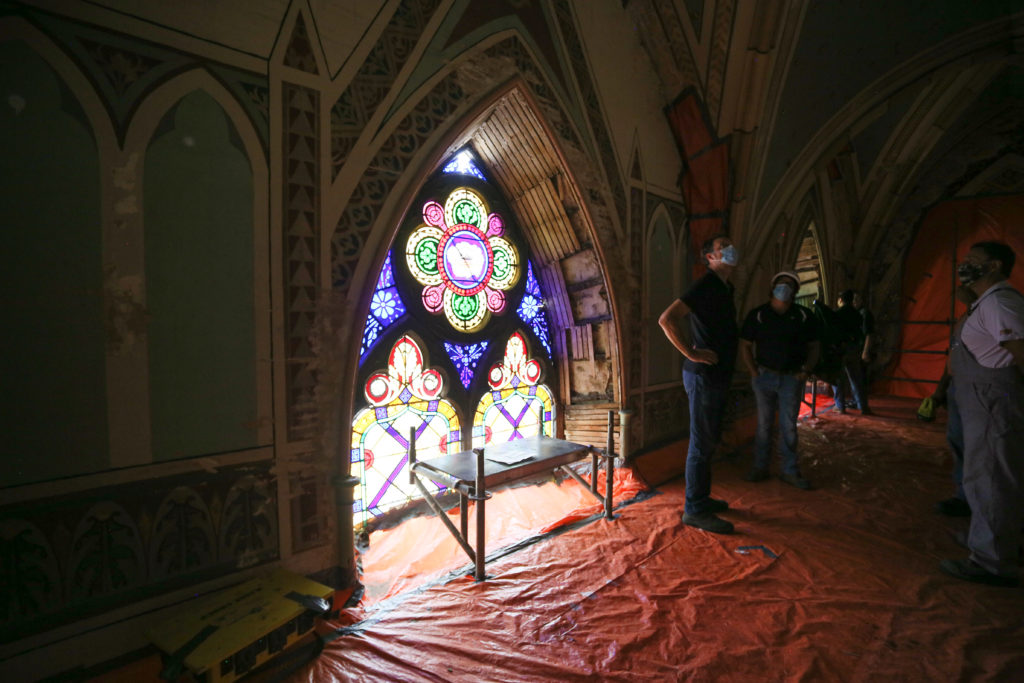
A look at one of the church’s stained glass windows where areas of plaster that suffered water damage has been removed.
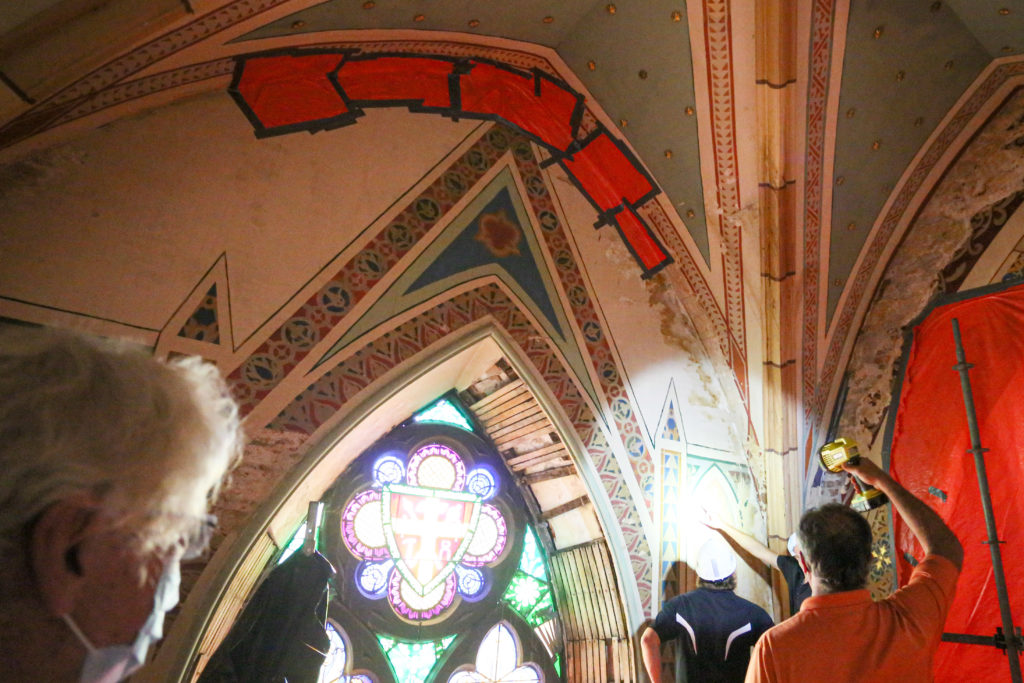
Construction managers look at an area of the ceiling plaster that suffered severe water damage over the years.